Setting up your statuses
The actions described in this lesson require Manager permissions for your clinic.
This lesson will walk you through how to set up consult statuses. These statuses help you track the status of a patient consult (e.g., Arrived, No show, etc.) and can also be configured to automatically generate invoices based on your preferences.
Accessing Your Status Settings
To manage your statuses, go to My clinic > Scheduling settings > Statuses.

Adding a New Status
To add a new status:
- Click Add a status.
- Enter a name for the status.
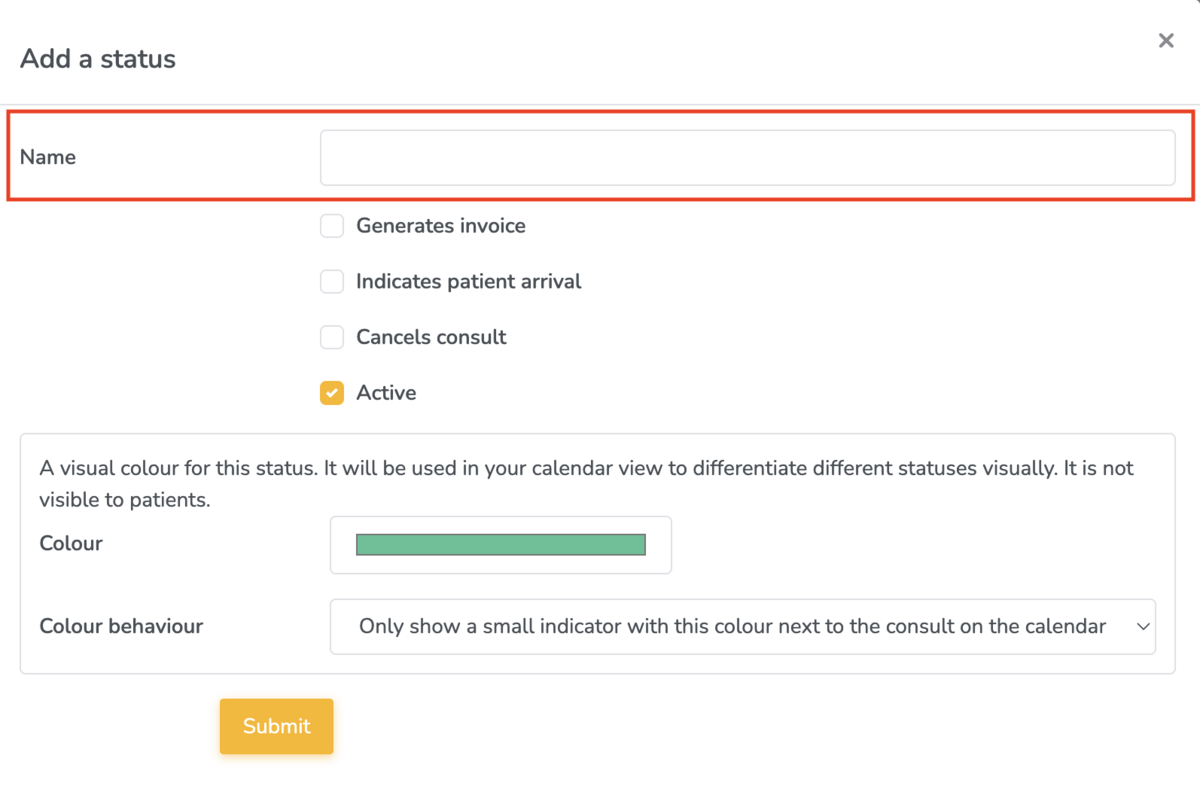
You can then customize several settings that determine how the status behaves. Each setting is explained below, along with examples.
Invoice Generation
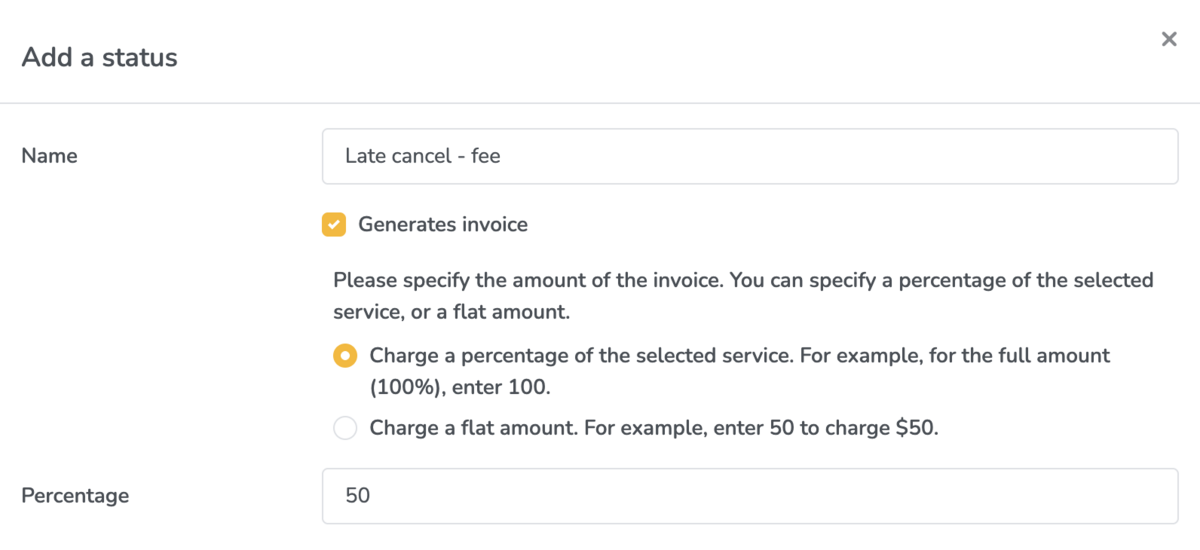
If you would like this status to automatically generate a draft invoice, check Generates invoice and enter the amount to be charged.
You can choose to generate:
- A percentage of the selected service fee, or
- A flat amount
Example:
If you charge a fee for late cancellations, you might create a status named “Late cancel – fee” and set it to generate an invoice for 50% of the normal fee.
Additional Settings
You can also specify:
- Indicates patient arrival: Use this option if this status should mark the patient as having arrived for their consult.
- Cancel consult automatically: Choose whether the consult should be cancelled when this status is applied.
- Colour: Select a colour that will visually represent this status in your calendar.
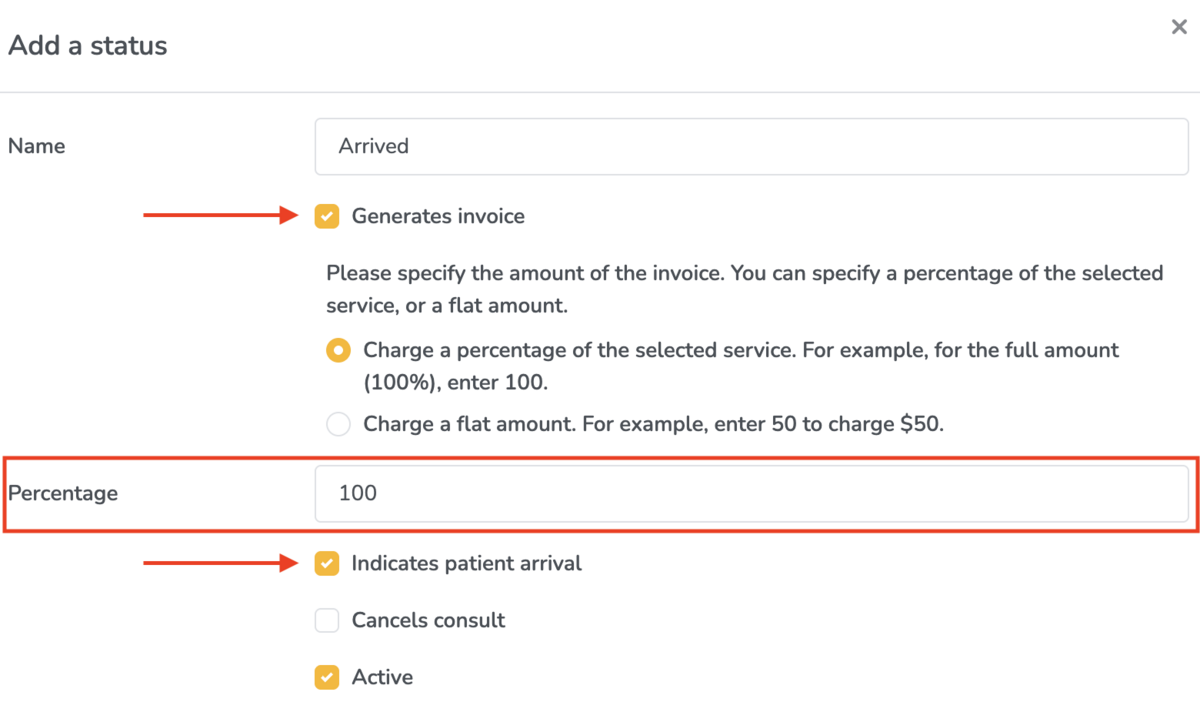
Example:
In this example, the status is “Arrived”. It marks the patient as having arrived for the consult and is set to generate an invoice for 100% of the service fee.
Colour Display Options
Finally, you can decide how the selected colour will appear in your calendar:
- Indicator only: Shows a small coloured marker beside the consult.
- Full background override: Applies the colour to the entire background of the consult block.
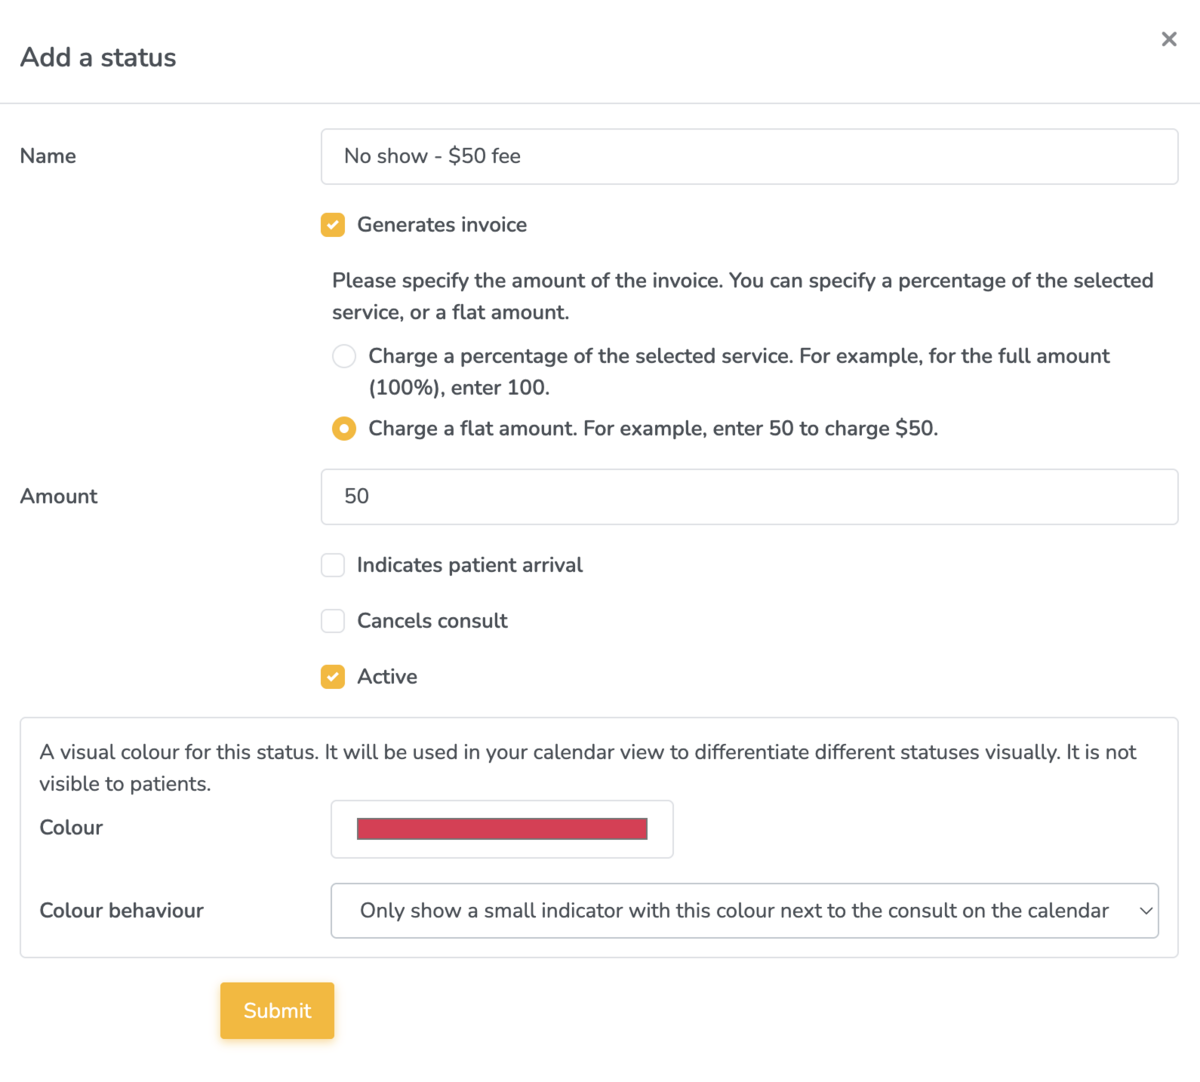
Example:
In this example, the status is “No show – $50 fee.” It generates an invoice for a flat amount of $50, does not indicate patient arrival, and uses the colour red. When this status is applied, the consult will display a small red indicator beside it. More on colour indicators below.
The color indicator options help you quickly differentiate and identify consult statuses in your schedule.
You can also choose between two different colour behaviors. This is for your visual view on your calendar. You can select for the color to:
- Only show a small indicator with this colour next to the consult on the calendar:

- Use this colour to fully override the background colour of the consult on the calendar:
